

Will the sony A7s iii arrive soon?
I’m not usually one to write about rumours and upcoming releases but the possible release of a Sony A7s iii i admit i am a bit excited about. VP and Senior General Manager of Sony’s Digital Imaging Group, Kenji Tanaka revealed this week in an interview with DPReview that finally the successor to the ageing Sony A7s ii will be coming ‘later this summer’ (or Winter) if you live down here in the southern hemisphere.
This is a pretty solid confirmation from Sony and that we will see a new camera from the A7s line in the coming months. The jury is still out as to what the specs maybe but Tanaka did promise that the camera will have ‘supreme’ performance and a completely redesigned camera.
“I can confirm that a successor to the Alpha 7S II will be coming, later this summer. Right now we’re focused on the launch of the new camera, and it will be a complete redesign of the whole system, including the image sensor. Everything is new. We hope it will meet and exceed the expectations and requests of our customers. I’m very confident that our new model will meet their demands.” – Kenji Tanaka

the specs would i like to see on the a7s iii
4k with a 60p frame rate
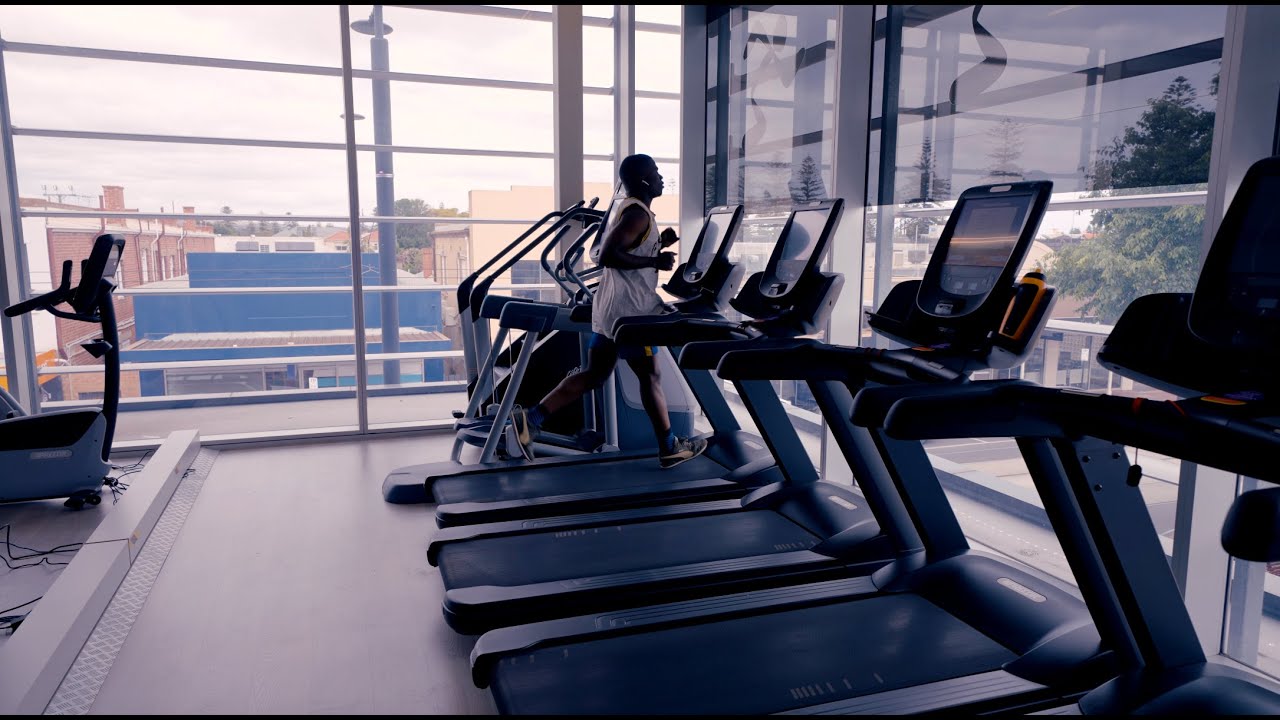
Recently i’ve been filming a fair bit of architecture content on the main camera (Sony FS7) on 4k / 25 & 60p and then using a Ronin S Gimbal for a bit of b-roll of the presenters walking around etc. So, (and i know this is a bit predictable) the first thing on my list would be 4k/60p to match the tripod based b-roll i shoot on the FS7. Being able to shoot 4k/60p on the Gimbal with the A7s iii would be fantastic with matching the aesthetic.
3 recording streams
Using a b-cam like the A7s iii on a gimbal would be great. But having a wireless signal from the gimbal to a directors monitor / client monitor is currently not possible with the A7s ii as the camera can only output 2 video streams:
- 1 stream to the card for recording
- 1 stream to the viewfinder on the camera (for operator viewing)
If the new A7s iii has 3 recording streams built in, i could then have:
- 1 stream to the card for operator viewing
- 1 stream to the viewfinder so i can shoot on the gimbal
- 1 stream to HDMI output for wireless signal to the monitor receiver.
This would be great! I’m not holding my breathe for this capability, but i would be very satisfied if it could!
*Note if you have found a way to do this, leave a comment below!
10-bit 4:2:2 recording
Same reasons as the above, having 10-bit on my b-cam DSLR would mean an exact specs match on the main camera. I would also feel a lot more comfortable when directors / clients ask me to shoot in S-log. Shooting s-log on an 8-bit b-cam is always a little risky in harsh or low lighting conditions in my opinion.
Recap & ‘nice to have’
No 30 minute recording limit
This would be useful for shooting 2 camera interviews and not having to cut recording half way through the interview. Murphy’s law is at 29 minutes and 40 seconds the subject is always in the middle of a great sentence or statement! Having this be a thing of the past would be great.
Other specs and ‘nice to have’ specs
- 4k / 60p recording
- 3 video output streams
- 10-bit 4:2:2 recording
- No 30 minute restriction on recording
- Large pixels for low light performance
- 4.8, 6 or even 8k? Likely won't use for quite some time but would be good for a bit of longevity with the camera
- NFC
What specs would you like to see in the new Sony A7s iii? Leave your thoughts in the comments below.
Hire Paulfor your next video project
Paul and his team of trusted video crew are available for day rate hire or project rate hire in Adelaide at local rate, Australia wide or Global at very competitive rates.
Camera kits can be built for custom jobs. See full kit list here
Get in touch for availability and rates


